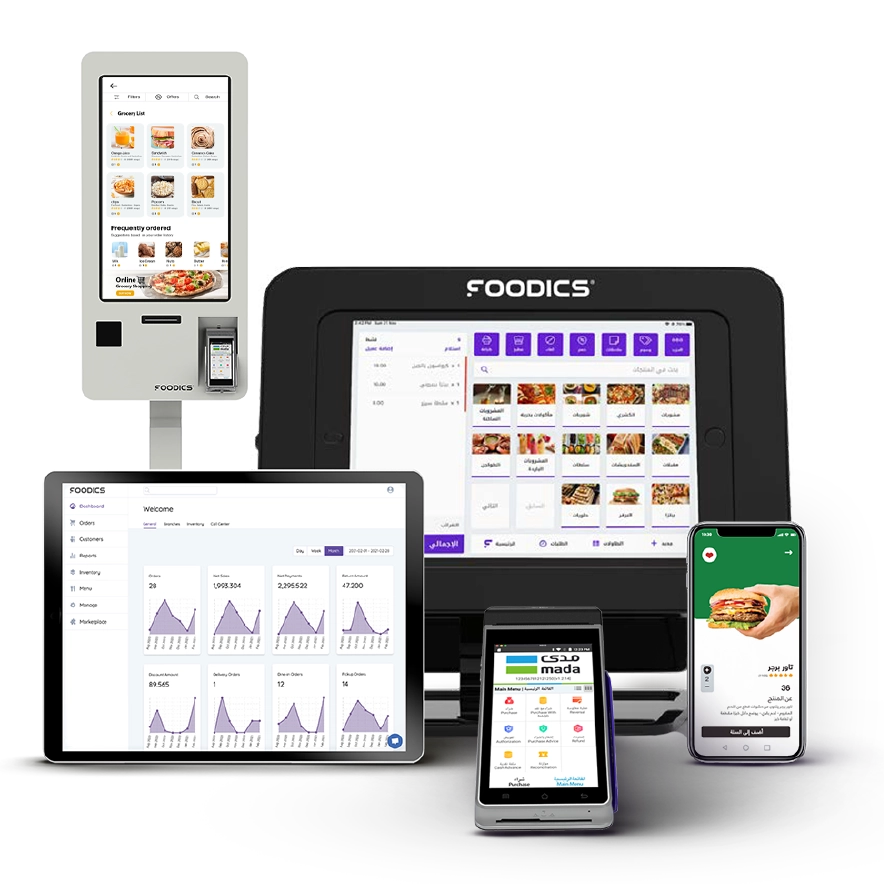
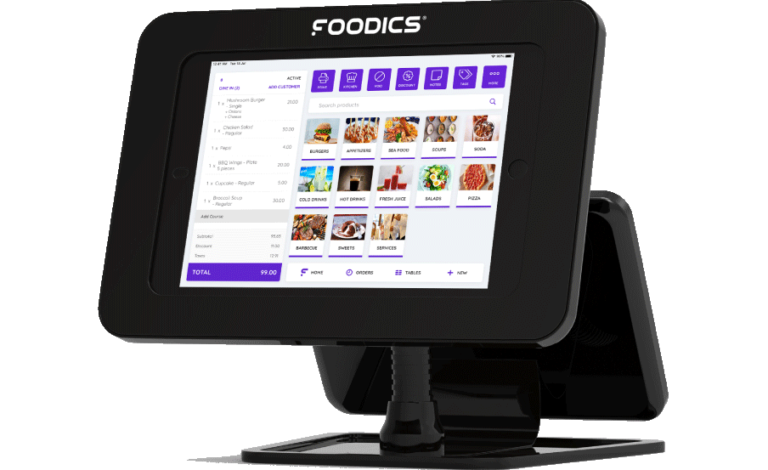
Foodics restaurant RMS - cloud POS system is just perfect. It comes with more features than any other system. It looks beautiful, easy-to-use, with great customer support.

Homoud Al Homoudi
7Ribs
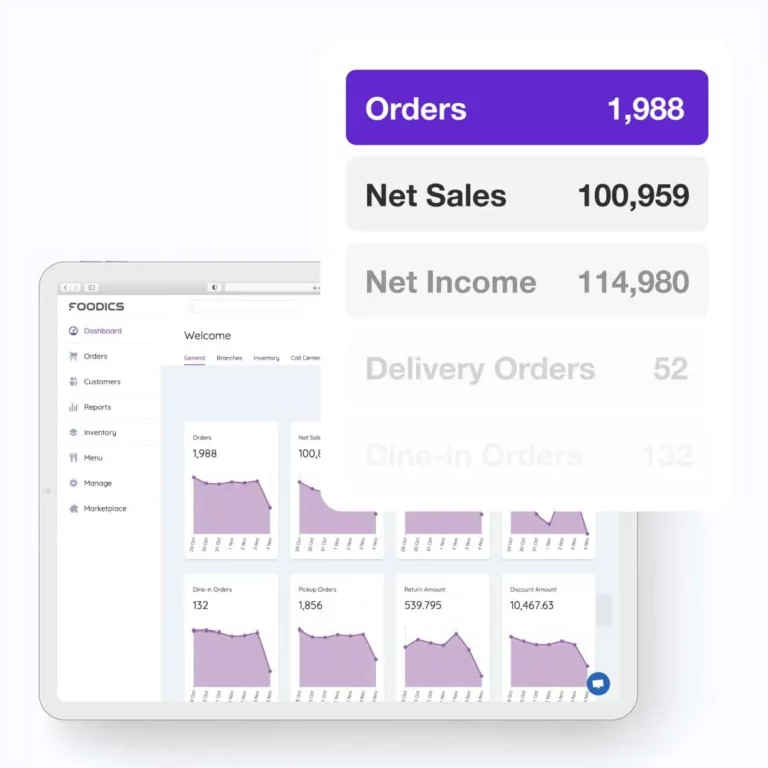
We have tried many systems before but they did not fully meet our needs. Since adopting Foodics, we have found solutions for cost, inventory, and analytics.
Hussein Al Mousawi
Koobs Cafe
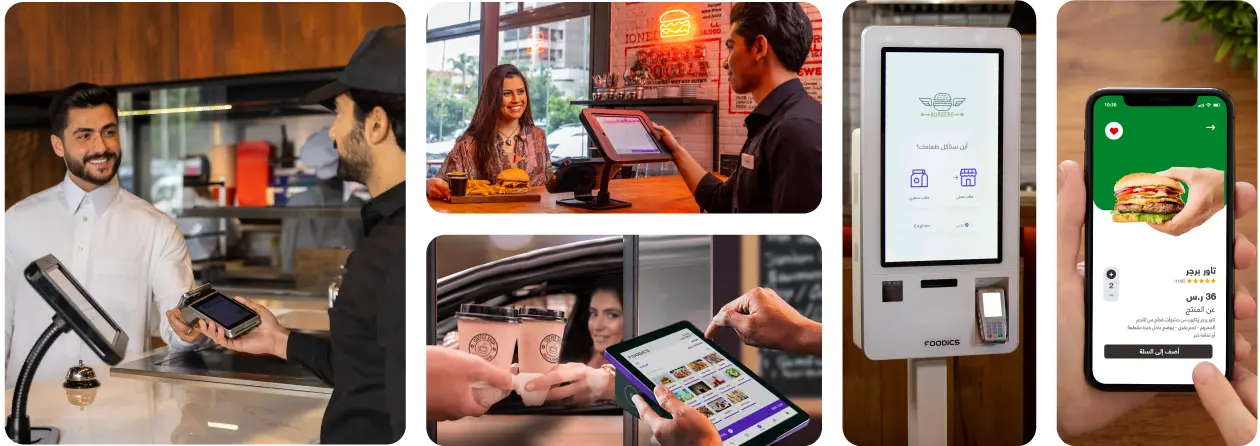
Very easy to use! It connects all activity centers/ branches in one platform. We appreciate the efforts of the Foodics technical support's quick to respond.

Ahmad Omran
Mazaj Maghrebi
We extend our warmest gratitude to the Foodics company for their sincerity, professionalism, and technical support.

Youssef AlMokhtar AlJabri
Chef's Restaurant
Foodics cloud POS has everything we need. A good user interface and friendly navigation make it easy for people to course through it.

Anas Galmouss
Food Gate Co.
Foodics is excellent! It allows us to monitor and manage our branches efficiently. The after-sales service is fast and the team is responsive.

Muhammad Abu Shawarib
Shams